I have been teaching displaced volume for quite some time now and would like to give you a few tips and tricks as to how I make it work in my classroom.
TEACHING DISPLACED VOLUME: 101
1. First, I always go over all the steps of the process. I either have them paste and review the steps with a partner, or use these fill-in-the-blank notebook pages and have them fill it in. (see below)
I also have some FREE handouts that go over the entire process!
I also have some FREE handouts that go over the entire process!
2. I try and pair the students up in groups of 2 (that's just my preference).
3. Then, we usually "teach" the process to our partner so that the process can really get stuck in our heads.
4. We will do a few practice problems together with our "paper" graduated cylinders in our science notebooks before we get to the hands-on practice. I use my Displaced Volume Task Cards as practice problems. Depending on the student... I may use all of the same kind of graduated cylinder (as seen below) or try and use a variety of 3 cards (which is all I can successfully fit on a page) for those students needing more of a challenge. I also like to have the students glue their "How to page" (seen below) on the left side so that they can review all the steps.
5. Once we've taken the time to learn the process I usually bust out the graduated cylinders and objects that we will be using to find the volume of. I have always used rocks that are lettered with a sharpie, but I've also been wanting to branch out and have the students bring something small from home to find the volume of. I would definitely recommend setting up a table in their science notebooks for this. Below, is an example of the table that I have used before with my students.
6. I would also highly recommend that you pre-select items and have a key ready. This helps students check to see if they are doing the process correctly, because you know that there will be some that finish more quickly than others. I also usually have to remind the students that the objects that we are finding the volume of don't move, they move.
7. Once they have rotated to all of their stations (maybe have them choose, or assign 4-5 stations to visit) and have checked their work, I tell them to revisit any station that they missed to see what went wrong. They are to then write an explanation as to what went wrong (see example below). Once they are finished with their corrections, or get all of measurements correct, they are assigned a set (it can be a mixed review or certain types of cylinders that they might be struggling with) of task cards. This allows me to walk around and help those groups who are still struggling with the process and keep the others practicing with the task cards. I have created a set below, because of the sheer need to practice this skill. Click the images to find out more about each set.
8. Once everyone has finished the stations, I will have the students reflect on their experiences they had at the stations in their interactive science notebooks. For homework, I can differentiate a couple of different ways. For my students who are still struggling, I might assign them an assessment page (like the one below). For my students who have mastered the concept, I might have them create a problem that uses volume displacement.
This entire process could take you anywhere from 1-3 days depending on how much time you have to teach science each day.
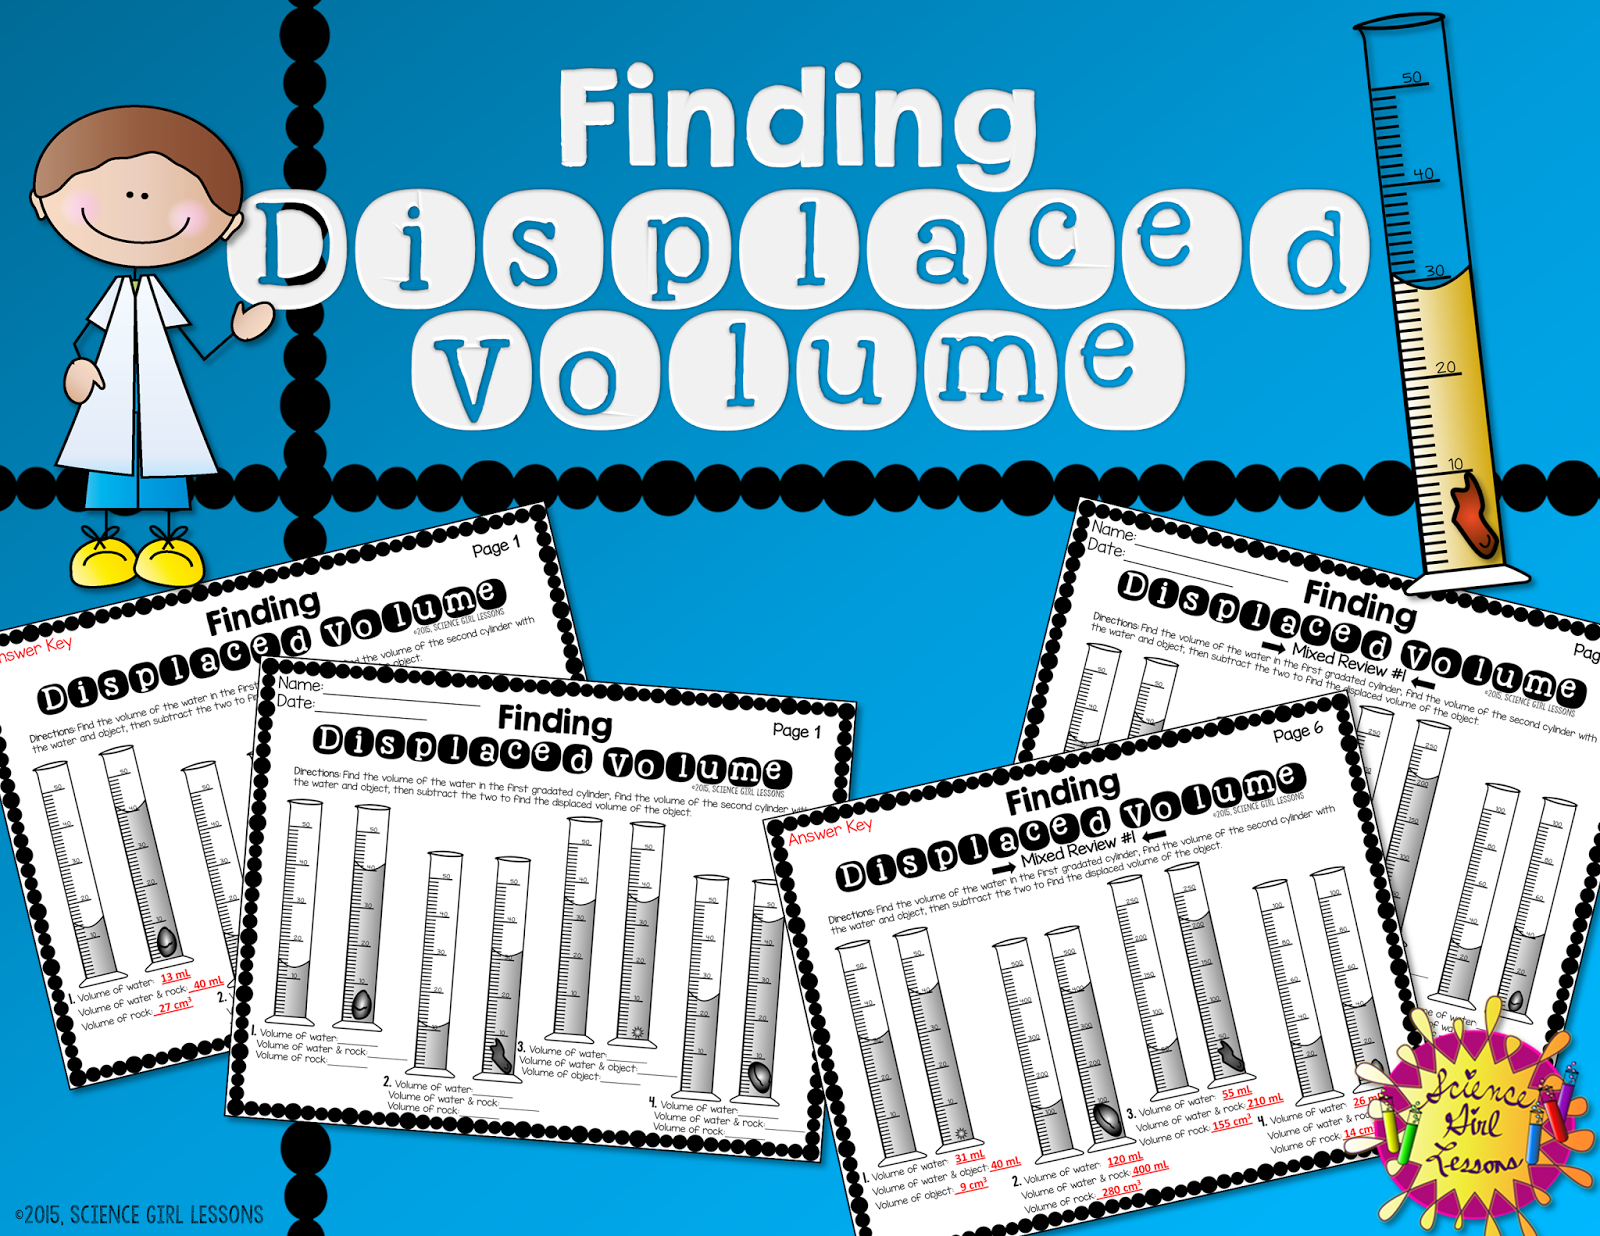
Feel free to check out all my resources related to measuring displaced volume by clicking on the image:
If you have any additional comments or ideas/experiences that you have had with teaching displaced volume, please feel free to comment below. Thank you for reading! Have a blessed week!
Feel free to check out all my resources related to measuring displaced volume by clicking on the image:


.png)
No comments:
Post a Comment